How to set up a new TV in 8 steps
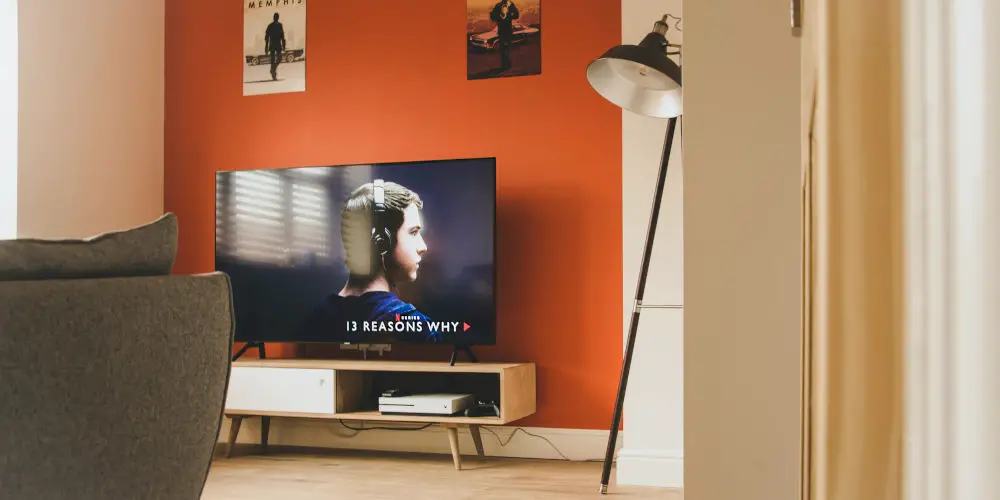
If you’re wondering how to set up a new TV, never fear help is here! It’s easier than you think and we’ll cover every step in plain English!
Purchasing a new TV can be highly exciting, especially if you haven’t upgraded for a while. This might be your first 4k TV, your old set might have still been using SCART connectors! Your new TV might offer better speakers and sound, improving your enjoyment of films.
Don’t worry about the jargon like HDR, 4k, OLED and HDMI 2.1, as the basics of setting up a new TV hasn’t changed and thankfully, isn’t that hard. Even experimenting with the picture settings or audio options is straightforward!
So clear the pile of cables out of the way and get ready to set up your new TV. It’ll be worth the extra time to make sure you’ve correctly set up a new TV.
Basic TV mounting options
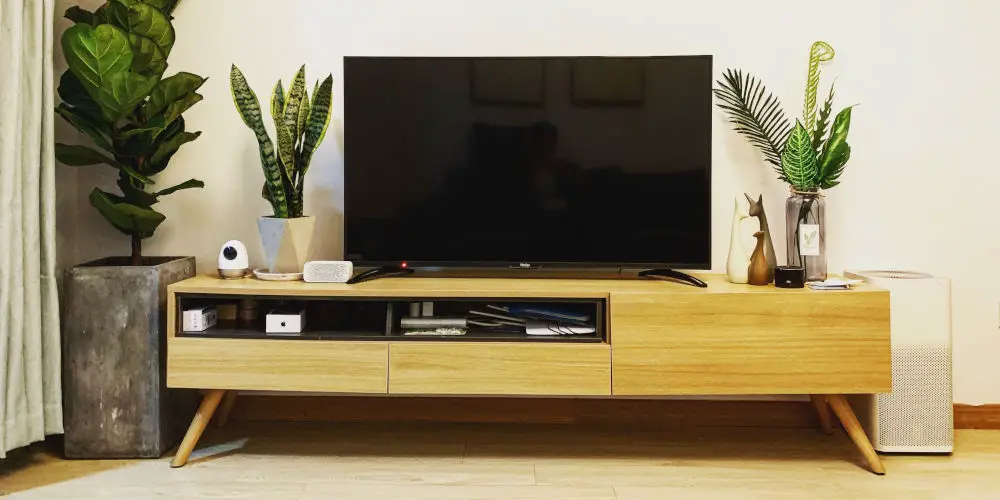
You can either set your new TV up on a stand (either included or purchased separately) or mount it to a wall. In either case, you might want to connect it up first before positioning it to ensure you can reach the rear connections without needing to contort yourself!
After settling on how your TV will be displayed, the real fun begins. You can experience with the multitude of picture settings, audio modes or simply, put your feet up and watch some TV! But first, we need to connect your new TV up!
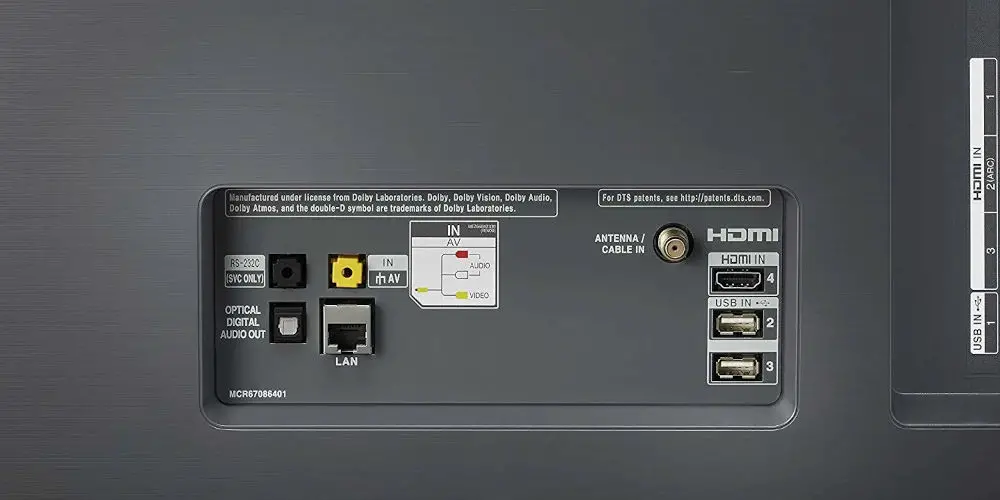
What are HDMI connections?
Unless you’ve been living under a rock for the last decade and are still using SCART leads, pretty much every piece of TV equipment uses HDMI connections and cables.
The HDMI standard transmits high-resolution images and audio between devices.
You’ll see HDMI connections on Blu-ray players, DVD players, streaming devices such as Google Chromecast, and game consoles. If not your device will be quite old and you’ll need to find a way to connect them to your TV. If you have Nintendo Wii or a VHS player, you’re on your own!
You’ll probably find it’s difficult to get a modern TV to connect with older devices, so you might want to upgrade your gear so that it uses HDMI instead. Trust us, it’s much easier and the quality is far superior.
How many HDMI cables do I need?
If you went to a shop to buy your new TV, then you might have been encouraged to buy expensive HDMI cables. The not so big secret is, there’s little benefit to buying costly cables over the standard ones.
Like most cables, HDMI ones last for years. So if you have some old ones lying around, it’s likely they still work. If not, you can buy some affordable HDMI cables.
Despite what the salesperson said, you probably don’t need the latest HDMI cables as it matters more about the connection type on your device than the cable. For example, an HDMI 2.1 or HDCP 2.2 cable merely transmit a signal. So don’t worry too much.
You might be looking forward to buying the latest game console and feel a cable upgrade is necessary. Typically, you don’t need new cables unless you want to play games in 4K120, which is a resolution only a few TVs can handle. And so you’ll want to use Premium Certified cables.
Plugging in media devices
Most devices will autodetect what your new TV can play. For example, if you have a 4k Blu-ray player, it will sense that your new TV can handle displaying pictures in 1080p or 2160p. it will automatically adjust to ensure you’re watching the best possible images.
You’ll find your new game consoles and streaming devices will also automatically configure for the optimum settings. With your older devices, you’ll need to configure them so they play media in HD and at 16:9 format.
It’s also worth pointing out that just because your satellite dish, set-up box or favourite streaming services is capable of HD, doesn’t mean you’re getting access to media in HD quality. You might be required to pay extra for the privilege and have to view content using specific HD channels.
For example, Netflix, Amazon Prime Video (30-day FREE trial) and other streaming services require you to subscribe for the most expensive streaming tier to be able to watch 4k content.
Connecting a soundbar or external speakers
Sadly, as manufactures have become fixated on picture quality, they’ve almost forgotten about audio. Most TVs deliver poor sound as they have rear-facing speakers which means the sound waves have to bounce off the wall behind them before reaching your ears.
One solution is to use a soundbar as they sit in front of the TV, meaning the sound waves are directed at your ears. There are a few different ways you can connect a soundbar to your new TV including an HDMI cable, Optical cable or failing that, a mini-jack cable.
Most of these methods also allow you to connect external speakers, including wireless speakers to your TV if you prefer. You might be able to use HDMI ARC to reduce the number of cables you need between devices.
Can I use my new TV with my AV receiver?
If you’re replacing an old TV that’s currently connected to an AV receiver, then you probably need to unplug the HDMI cable and attach it to your new TV. You might need to reconfigure your AV receiver for the best picture quality.
That said, if you’ve upgraded your TV to a 4k unit, then it might be time to also update your AV receiver to a 4k device as the picture quality might not be as good as it could be.
Selecting the ideal picture mode
After you’ve got all of your devices connected and your TV in position, it’s worth experimenting with the picture settings.
When you first turn and attempt to set up a new TV, it will ask you if you’re using the unit in a home or store. Unless you’re living in an electronics shop, you’ll want to select “home”!
You’ll then need to run through the TV’s basic set-up menu, which will include choosing the ideal picture mode for every viewing. Even if you don’t adjust any other picture settings, spending a few moments to select the ideal picture mode will mean your TV is close to displaying at its best.
Of course, as part of trying to set up a new TV, you’ll want to spend time playing with the different picture modes. You might discover that you prefer Movie mode or there’s little difference when gaming between Game mode and the General TV mode.
Adjusting the finer details
While the above will be enough for most people, some when trying to set up a new TV will want to make even finer adjustments. Before you get lost down the rabbit hole of menus and spend house adjusting individual hues, here are some basic tips!
Typically, the Backlight and Contrast controls allow you to adjust how bright the image appears. The Brightness controls how dark the dark parts of the image look.
You might not know that turning down your TV’s Sharpness control improves its image, but it’s true! Another simple idea you can try is to adjust the TV’s overscan so you can see the entire image. You read that right, your TV might be cropping off the edges!
That’s just the basics, of course, there are plenty more settings you can adjust. If you want to get the best performance from your new TV, then consider having it calibrated.
Your new TV probably has even more settings and adjustments we don’t cover here, but this should get you started.
That’s how to set up a new TV
Even though we’ve scratched the surface, you should have a better idea of how to set up a new TV. If doubt, ask the retailer to install the unit for you. And while this might cost a little extra, they’ll ensure your new TV works perfectly.
And in case you’re wondering, your new smart TV shouldn’t cost more to run than the unit it replaced.


