Foolproof guide to setting up a projector at home
- By: Ashley Saunders | Projectors
- PUBLISHED: 11th April 2020 | LAST UPDATE: 17th May 2023
Unlike a TV which you can remove the packing, plug-in and turn on, setting up a projector in a home cinema room requires a bit of work.
Thankfully, after some trial and error, you’ll enjoy a far superior experience with a larger picture and more vibrant colours. You’ll soon forget about the extra time!
Setting up a projector involves optimising the position for the maximum picture size, adjusting the setting for the ideal image quality and wiring it in.
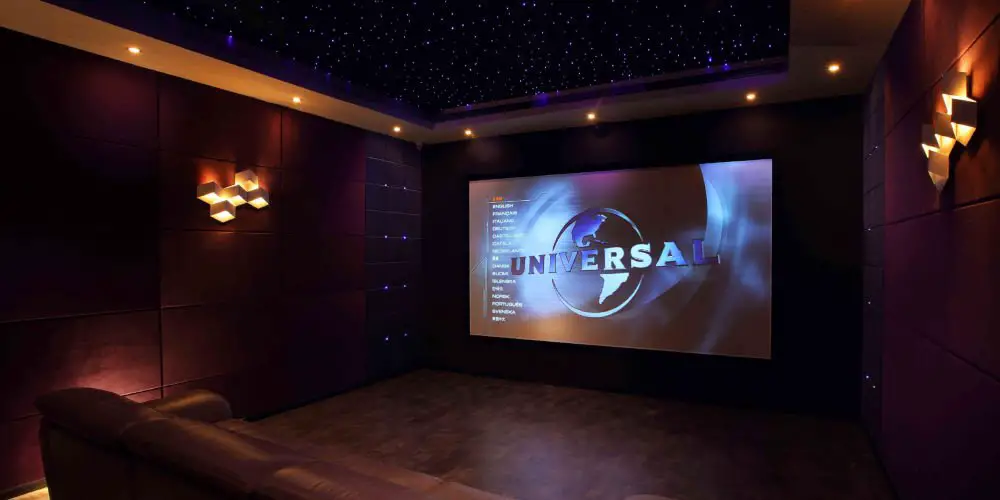
Setting up a projector correctly is key to enjoy your home cinema room, whether you have a small budget or are investing thousands in a 4k home cinema projector.
Basic positions when setting up a projector
The first step of setting up a projector is figuring out the optimum place to set up a projector and screen. This depends on several factors including room size, projector throw and how you intend to mount the projector.
Your room’s dimensions will have the biggest impact of the image size you’re able to project. Most projectors can produce an image that ranges from as small as 30 inches (diagonally), all the way up to 300 inches (diagonally).
The maximum image you’ll be able to project depends on the distance between the projector and screen. The larger this distance, the bigger the image. However, images will appear dimmer over a longer distance.
Ideally, you’d set your projector parallel to the longest wall as this will provide you with the largest possible image. That said, if you’re using a short-throw projector you’ll be able to produce a larger image across a shorter distance.
Another factor that has a big impact is how you intend to mount your projector. For example, if you place it on a table in front of the screen, you’ll limit the potential image size. However, ceiling mounting it will provide you with a larger picture.
Set up your screen (or paint the wall)
Having experimented with your room’s layout and found the best position to set up a projector, next you’ll want to settle on a screen position and size.
You have two options when it comes to screens. Firstly, you could paint directly on your wall using specialist paint such as SmarterSurfaces Smart Projector Paint. However, any bumps or unevenness in the surface will be visible, which could impact your viewing experience.
The other option is to buy a pre-made screen and we’ve previously reviewed some of the best 100-inch projector screens currently available. As a stand-alone item, a screen will be completely flat and amplify the projector’s light better than the wall.
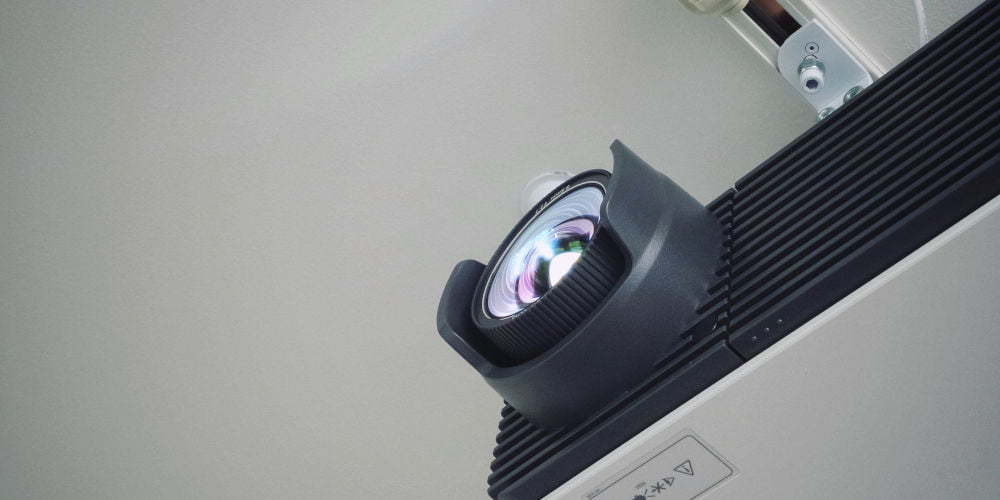
Adjusting the projector’s height
Depending on your room size and overall function, there are three projector mounting options. You can place it on a table in front of the screen or mount it to the ceiling. The third option is rear projection, however, for this to work you need quite a lot of space behind the screen.
Typically projectors are designed so that the middle of the lens roughly lines up slightly above the bottom edge of the screen. So whether you’re using a table or ceiling mount, the idea is the same. If you’re ceiling mounting, don’t forget to flip the image, otherwise everything will appear upside down!
If you don’t have vertical lens shift or keystone correction on your projector, then you’ll have to experiment with the position a bit more. Thankfully most projectors have either or both, making set-up far easier.
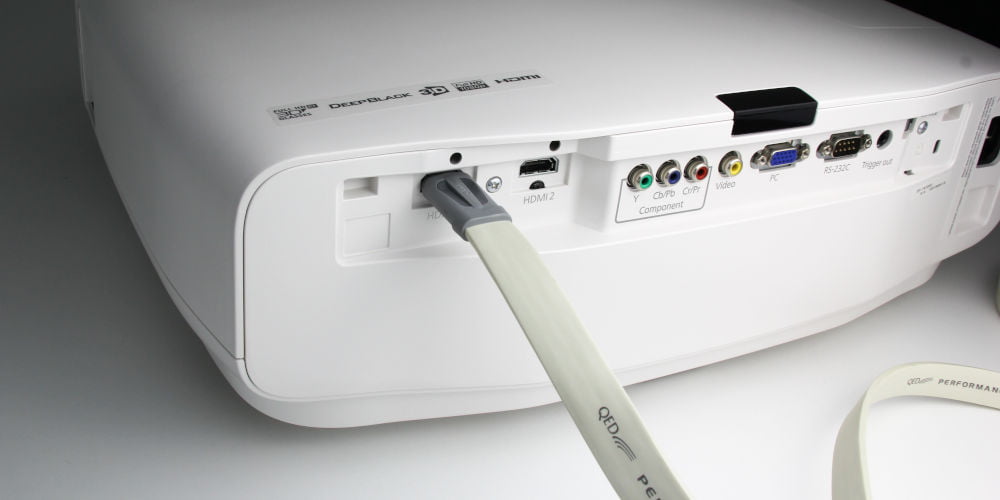
Connecting your projector
With the projector and screen fixed in place, it’s time to wire them into the system. You’ll want to power the projector and any media players (for example Blu-ray players, Streaming sticks, game consoles), then connect them.
If you’re using an AV receiver such as a 7.2 system, then you probably only need an HDMI cable to connect the projector. Otherwise, you may need to use a few long HDMI cables between the various devices and the projector.
You might find using very long HDMI cables have a detrimental impact on the image. This issue can be solved either by using a Cat5 network distribution system or using a wireless transmitter and receiver. Either will ensure the best picture quality.
Regardless of how you wire the components together, once connected, it’s time to turn it all on.
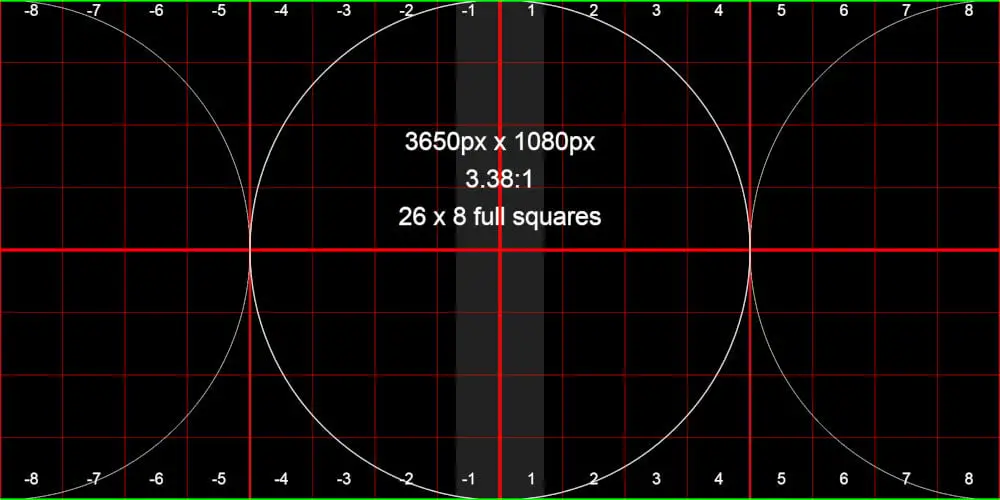
photo by VIOSO
Project an alignment image
For the best-projected image, you’ll want to start with a reference still pattern. Some projectors have a built-in test pattern which is ideal. However, if yours doesn’t, you can download one online from several sources including VIOSO.
Don’t use a still image from a paused TV show or movie as this won’t produce the optimum alignment.
Adjusting the image
With an alignment image loaded, you’ll want to line up the centre of the lens with the centre of the screen. Ensure the projector is as level as possible.
Ideally, the entire screen should be filled with the projected image. If your projector has a zoom control, adjust this until the image reaches the far edges of the screen.
With the image filling the screen, next you’ll want to adjust the focus until the picture looks sharp. If you struggle, walk towards the screen. If the centre is sharp but the corners look slightly blurred, then the projector and screen aren’t completely aligned.
To fix this issue, either experiment with the angle of the ceiling mount or adjust the legs if you’re projecting from a table. Aim to correct the angle by experimenting. However, don’t worry if you can’t as you can use the projector’s keystone correction. Although this should be the last result as it impairs the resolution.
You probably won’t get it perfect but should be able to get close enough for you to live with.
Selecting the ideal mode
Part of setting up a projector is optimising the image quality for your room and media. Projectors generally have a few different presets, much like TVs. For example, your projector might have a gaming mode, one for movies and a presentation setting.
The movie mode will provide the best overall picture quality in a dark room. You can, of course, use it as the starting point and tweak the settings to your preference.
Planning to use your projector for gaming? It’s worth experimenting with several few different modes. Many projectors wrongly claim that their gaming mode reduces input lag in comparison to movie mode. This often isn’t the case, so it’s worth experimenting.
Enjoy, you’ve set up a projector!
After setting up a projector, all that’s left is to dim the lights, grab some sweets and enjoy a movie or gaming! Oh, and don’t forget to upgrade from your projector’s speakers to surround sound system. One is worth the money!